![]() By
Tasnia Salinas, on January 12, 2021, in
Mac Uninstaller
By
Tasnia Salinas, on January 12, 2021, in
Mac Uninstaller
How to get started?
In this article, we help you to learn How To Uninstall Dr. Cleaner from your Mac by using our dedicated Mac App Uninstaller software - Omni Remover. Make sure you have downloaded the latest version here before continuing.
Background Knowledge
Dr. Cleaner, designed and developed by Trend Micro, is a Mac application that aims to free up storage on Mac by offering a suite of cleaning and monitoring utilities. Those utilities will scan and clean junk files, big old files, and duplicate files. It also allows you to analyze Mac disk usage, uninstall unused third-party apps in batch, and shred files and folders to make your sensitive data unrecoverable.
However, at the beginning of this month, Apple removed Dr. Cleaner, Dr. Unarchiver, and some other apps that unawarely gather user data – especially browsing history – and upload it to their analytics servers from App Store. If you do mind your privacy, it's suggested to uninstall Dr. Cleaner completely from your Mac and here are step-by-step guide (Learn How To Uninstall MacKeeper).
Part 1: Uninstall Dr. Cleaner on Mac Manually
The easiest way to uninstall Dr. Cleaner from your Mac is by deleting it from LaunchPad: Open LaunchPad > click and long-press Dr. Cleaner until its logo gets giggling > click Delete button on the top side. However, this way you can only remove the Dr. Cleaner application files and as for other app files, like Dr. Cleaner cached files, preference settings and running reports/logs, probably they'll be left behind. Follow steps below to learn how to uninstall Dr. Cleaner from your Mac manually (Learn How To Uninstall SoundFlower Mac).
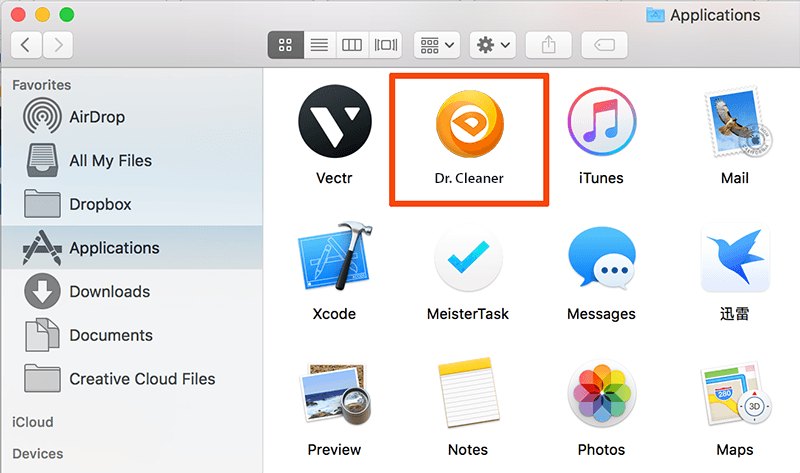
- Step 1: To uninstall Dr. Cleaner, open Finder > Applications > Dr. Cleaner:
- Step 2: After moving the Dr. Cleaner application file to Trash, these are still Dr. Cleaner related file system scanning engines, Mac cleaning settings, and other 'Hidden' components. To get rid of all these Dr. Cleaner leftovers, you need to move further: Open Finder > in Menu, click Go > enter ~/Library/.
- Step 3: You may see a large amount of system file folders here. Now locate the Dr. Cleaner leftover files by digging into each folder. They are possibly stored in the following folders: Application Support | Caches | Containers | Frameworks | Logs | Preferences | Saved | Application State | WebKit
- Step 4: Drag the files associated with Dr. Cleaner to Trash > Empty Trash and restart your Mac to finish the uninstallation of Dr. Cleaner.

Part 2: Completely Uninstall Dr. Cleaner on Mac
As Dr. Cleaner requires many root authority to handle with your Mac maintenance, so it's hardly to have clean uninstall of Dr. Cleaner without using a helper tool. This is where Omni Remover comes in. As one of the most advanced and efficient Mac App Uninstaller program, Omni Remover is made to simplify all these Dr. Cleaner uninstalling steps and get things done in 1-2-3 click. Read on to learn how to remove Dr. Cleaner with Omni Remover (Learn How To Uninstall Office 2011 Mac).
-
Step 1:
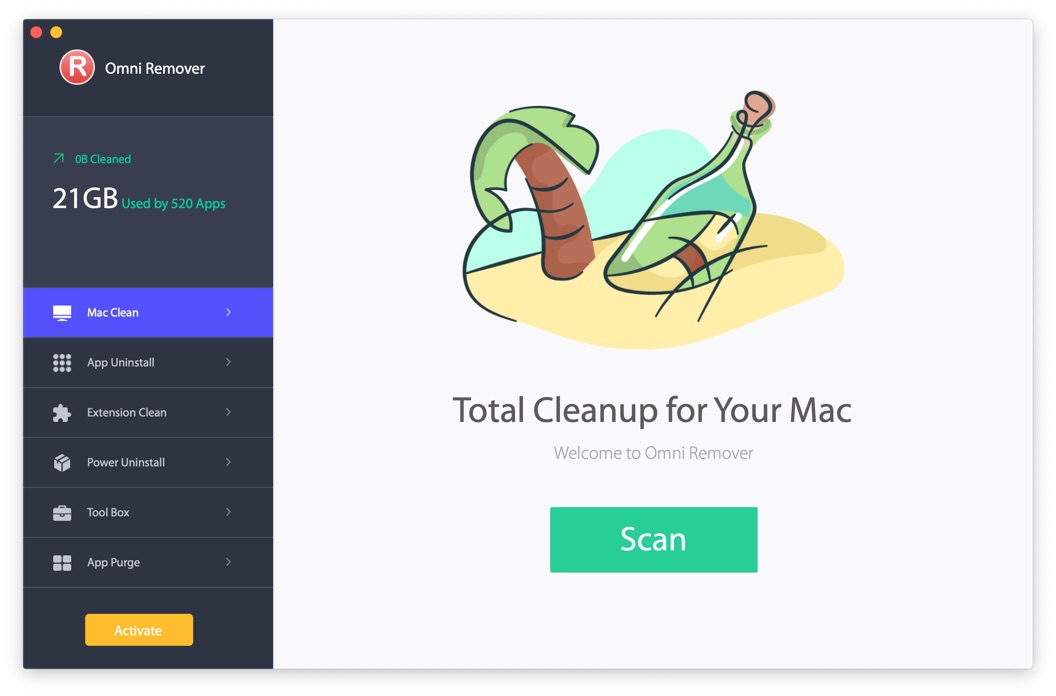
First up, click here to download Omni Remover (for macOS 10.8 and above) > Install > Open Omni Remover on your Mac.

-
Step 2:
In Omni Remover > App Uninstall > Click Dr. Cleaner > Clean Uninstall.

-
Step 3:
Then Omni Remover will start scanning all Dr. Cleaner data/files > After it finished scanning, click Clean Uninstall to start uninstall Dr. Cleaner from Mac Big Sur ( How To Transfer Music from iPhone to Computer for Free).

The Bottom Line
Even though Micro Trends has claimed their useage of these uploaded data is simply for analyzing user behavious and has nothing to do with users privacy or security. They have removed all data collecting features in Dr. Cleaner but Apple still hold it from App Store. One more thing, apart from the ability of uninstalling your unwanted apps (like Dr. Cleaner) to reclaim more free storage on your Mac, Omni Remover is also capable of managing the plugins and extentions on your Mac. Free Download now to have a try.