![]() By
Tasnia Salinas, on January 12, 2021, in
Mac Uninstaller
By
Tasnia Salinas, on January 12, 2021, in
Mac Uninstaller
How to get started?
In this article, we help you to learn How To Completely Uninstall Eclipse Photon on Mac by using our dedicated Mac App Uninstaller software - Omni Remover. Make sure you have downloaded the latest version here before continuing.
Background Knowledge
What is Eclipse? Eclipse is an integrated development environment (IDE) used in computer programming, and is the most widely used Java IDE (Learn How To Uninstall Java on Mac). It contains a base workspace and an extensible plug-in system for customizing the environment. Eclipse is written mostly in Java and its primary use is for developing Java applications, but it may also be used to develop applications in other programming languages via plug-ins, including Ada, ABAP, C, C++, C#, etc.
Why you should consider uninstalling Eclipse Photon on your Mac? Since 2006 the Foundation of Eclipse has coordinated an annual Simultaneous Release. Each release includes the Eclipse Platform and several other Eclipse projects. So if one day you feel your Eclipse version is outdated, or somehow you just cannot get it to work, then it's suggested to give a try to uninstall Eclipse on your Mac first (and do a reinstallation if you need it later). In this quick article, we'll show you how to completely uninstall Eclipse on Mac in less than a minute (Learn How To Uninstall MacKeeper).
Part 1: How To Uninstall Eclipse on Mac Manually
To give you the most complete unintall Eclipse on Mac tutorial, we tested to uninstall all the latest version of Eclipse on macOS Mojave. We also covered digging out Eclipse related applications junk files so that you can have clean uninstall (Learn How To Uninstall Office 2011 Mac).
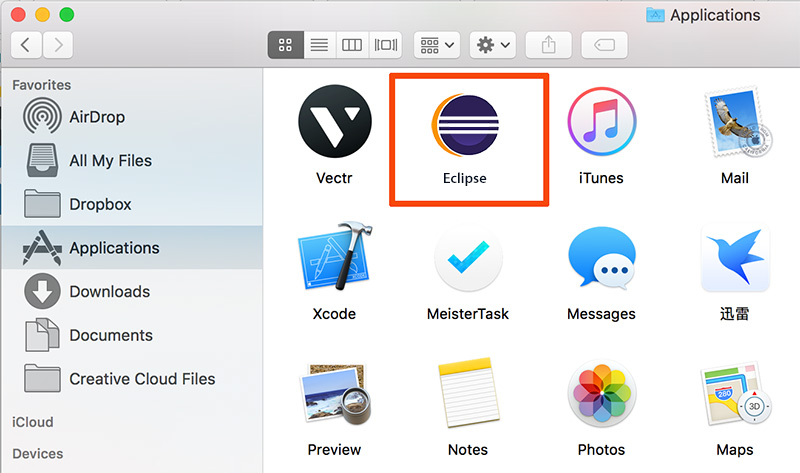
- Step 1: To uninstall Eclipse, open Finder > Applications > Eclipse:
- Step 2: After moving the Eclipse application file to Trash, these are still Eclipse related IDE preference settings, project revision logs, and other 'Hidden' Eclipse components. To get rid of all these Eclipse leftovers, you need to move further: Open Finder > in Menu, click Go > enter ~/Library/.
- Step 3: You may see a large amount of system file folders here. Now locate the Eclipse leftover files by digging into each folder. They are possibly stored in the following folders: Application Support | Caches | Containers | Frameworks | Logs | Preferences | Saved | Application State | WebKit
- Step 4: Drag the files associated with Eclipse to Trash > Empty Trash and restart your Mac to finish the removal of Eclipse.

Part 2: Completely Uninstall Eclipse on Mac
As you can see, the manual way to uninstall Eclipse on Mac is over complicated. Omni Remover is one of the most advanced and efficient Mac App Uninstaller program, which makes the Eclipse for Mac removal procedure extremely easy. Here are the detailed steps (Learn How To Uninstall Norton Mac).
-
Step 1:
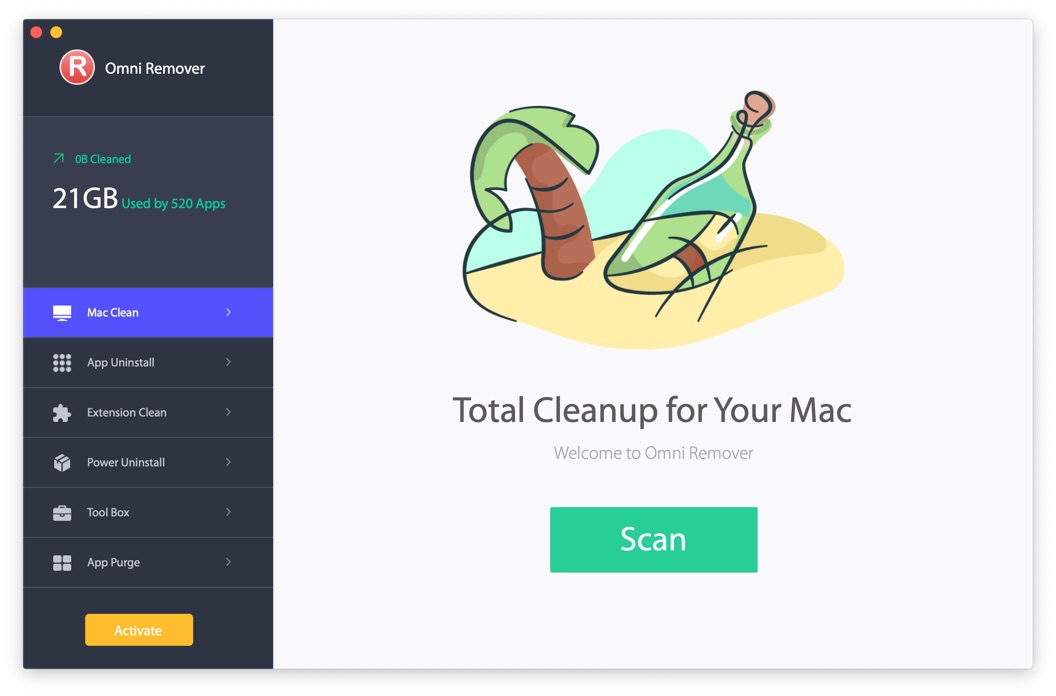
Click here to download Omni Remover (Ready for macOS Big Sur) > Install and Open Omni Remover on your Mac.

-
Step 2:
In Omni Remover > App Uninstall > Click Any Search Manager > Clean Uninstall.

-
Step 3:
Then Omni Remover will start scanning all Eclipse data/files > After it finished scanning, click Clean Uninstall to start uninstall Eclipse from your Mac (How To Disable System Integrity Protection (SIP) on Mojave/Big Sur).

The Bottom Line
Have you successfully uninstalled Eclipse from your Mac with our methods above? If you still have questions, leave us a message in comment and we are glad to help. One more thing, apart from the ability of uninstalling your unwanted apps (like Eclipse) to reclaim more free storage on your Mac, Omni Remover is also capable of managing the plugins and extentions on your Mac. Free Download now to have a try.