How To Take Screenshot by Mac Screenshot Toolbar
By MiniCreo, on August 15, 2019, in Omni Remover |
Q: How can I take screenshots on my Mac?
I upgraded my MacBook Pro to the latest macOS Catalina, but I can't get my MacBook Pro to take a screenshot. I used to do Command-Shift-4 but that apparently doesn't work anymore. Does anyone can help solve this macOS problem?

Doesn't find Print Screen on your Mac keyboard to print a screenshot? Confuse about how to take a screenshot on a Mac with the new Screenshot Toolbar? Or just completely new to macOS? Don't worry, we compose this Ultimate Screenshot Mac tutorial to guide you through all these common macOS problems.
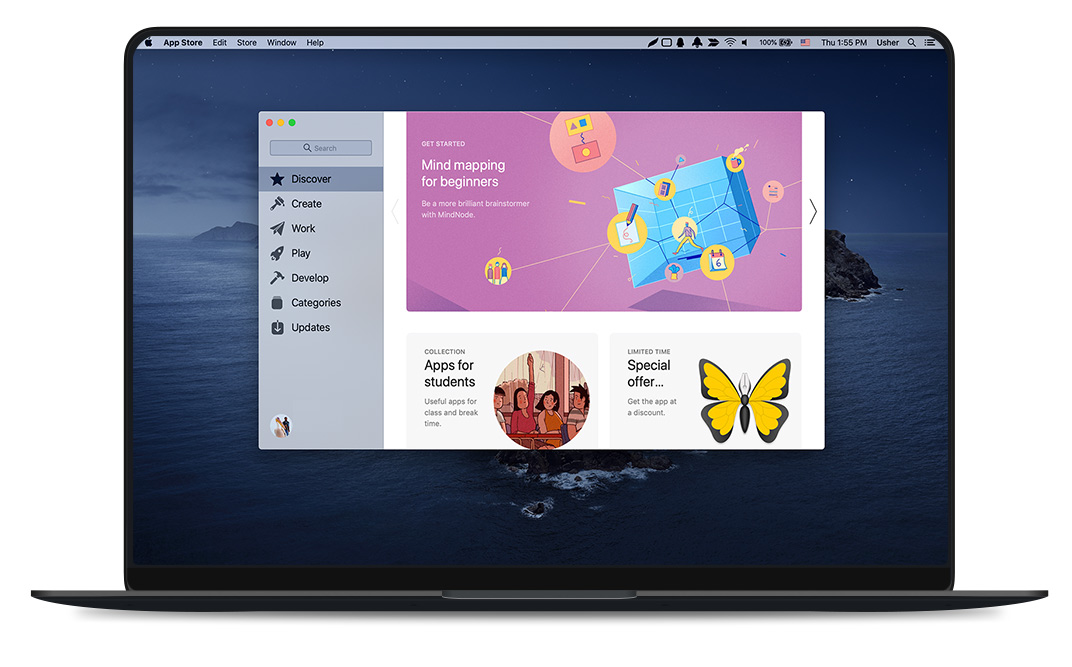
Table of Content:
- What Is Screenshot Toolbar on Mac?
- Method 1: Capture The Entire/Full Screen on Mac
- Method 2: Capture App Window, Desktop, Dock and Menu on Mac
- Method 3: Capture Selected Area on Mac
What Is Screenshot Toolbar on Mac?
The new Screenshot Toolbar is introduced by macOS Mojave, which helps capture the entire screen, a window, or just a selected portion of the screen on your Mac. If you've upgraded to macOS Mojave or the macOS Catalina, you can keep using Shift-Command-5 to take all types of screenshots on Mac, or make video recordings of your screen (instead of using QuickTime). The older keyboard shortcuts for taking Screenshots on Mac, such as Shift-Command-3 and Shift-Command-4, continue to work in all versions of macOS.

The older method of using individual keyboard shortcuts to invoke Mac screenshot options is somehow obscure. So one big leap with Screenshot Toolbar is to grouping all the Mac screenshot related tasks in one toolbar. While you can still use the older Mac screenshot shortcuts, now with Screenshot Toolbar, you can have easy access to the following Mac screen printing capabilities:
- Capture entire screen of your Mac
- Capture selected window of a particular Mac application
- Capture selected area on your Mac desktop
- Record entire screen
- Record selected portion of the screen
- Choose the destination of taken screenshots
- Set timers before screenshot capturing or recording
- Show/Hide mouse pointer
Method 1: How To Capture The Entire/Full Screen on Mac
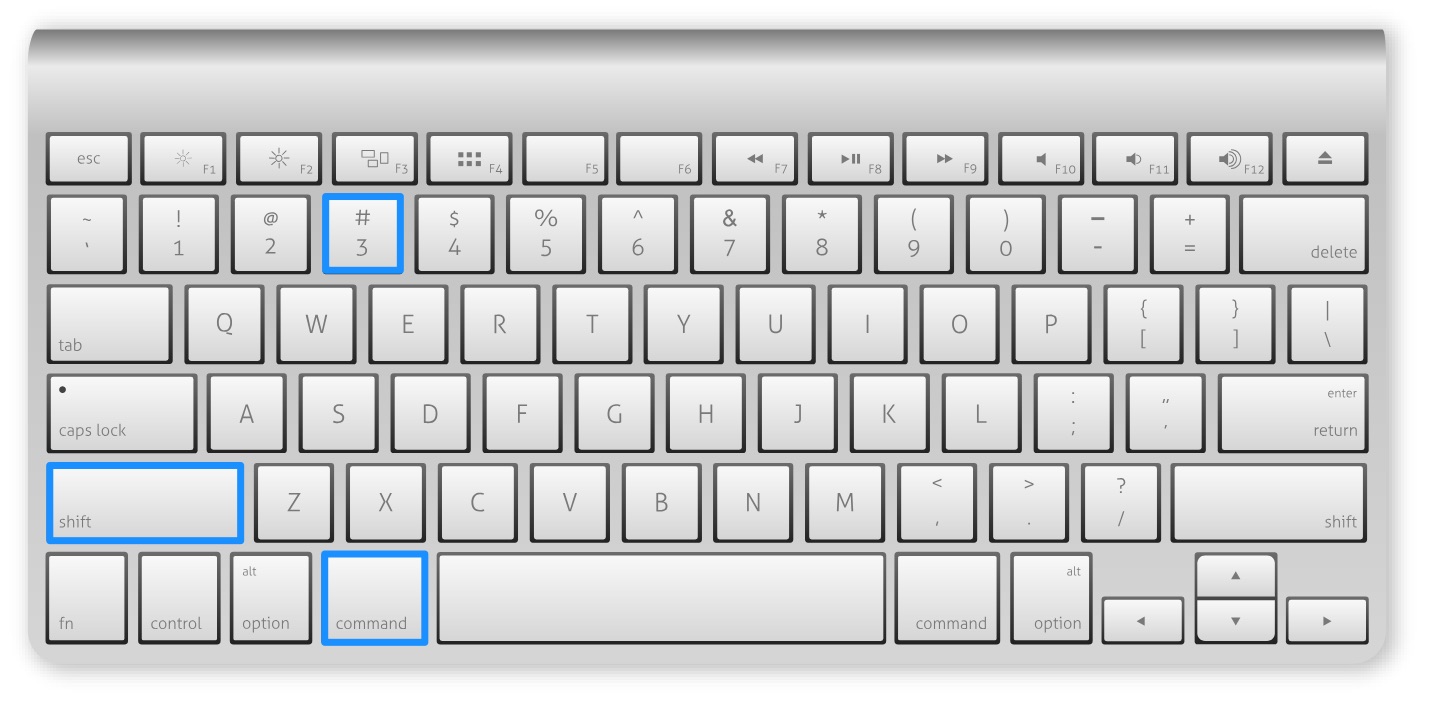
Command-Shift-3 is the easiest keyboard shortcut that can take a screenshot of the entire Mac screen. From macOS Mojave, when you print an entire/full screen on your Mac's desktop, you'll have a preview thumbnail appear in the corner of your screen giving you quicker access to editing tools. You can take the advantage and perform instant editing on this screenshot picture. Or, you can follow steps below to capture the entire/full screen on your Mac with the Screenshot Toolbar.
-
Step 1:
Press Shift-Command-5 to call up Screenshot Toolbar > Click or tap the first button at the far left of the screenshot toolbar.

How To Capture The Entire/Full Screen on Mac -
Step 2:
After you press the Capture Entire Screen button in Screenshot Toolbar, the cursor will change to display a small camera.

How To Capture The Entire/Full Screen on Mac -
Step 3:
Click the mouse or give a tap on the trackpad, it will take a screenshot of the entire screen of your Mac > Find the screenshot on your Mac desktop.

How To Capture The Entire/Full Screen on Mac
Method 2: How To Capture App Window, Desktop, Dock and Menu on Mac
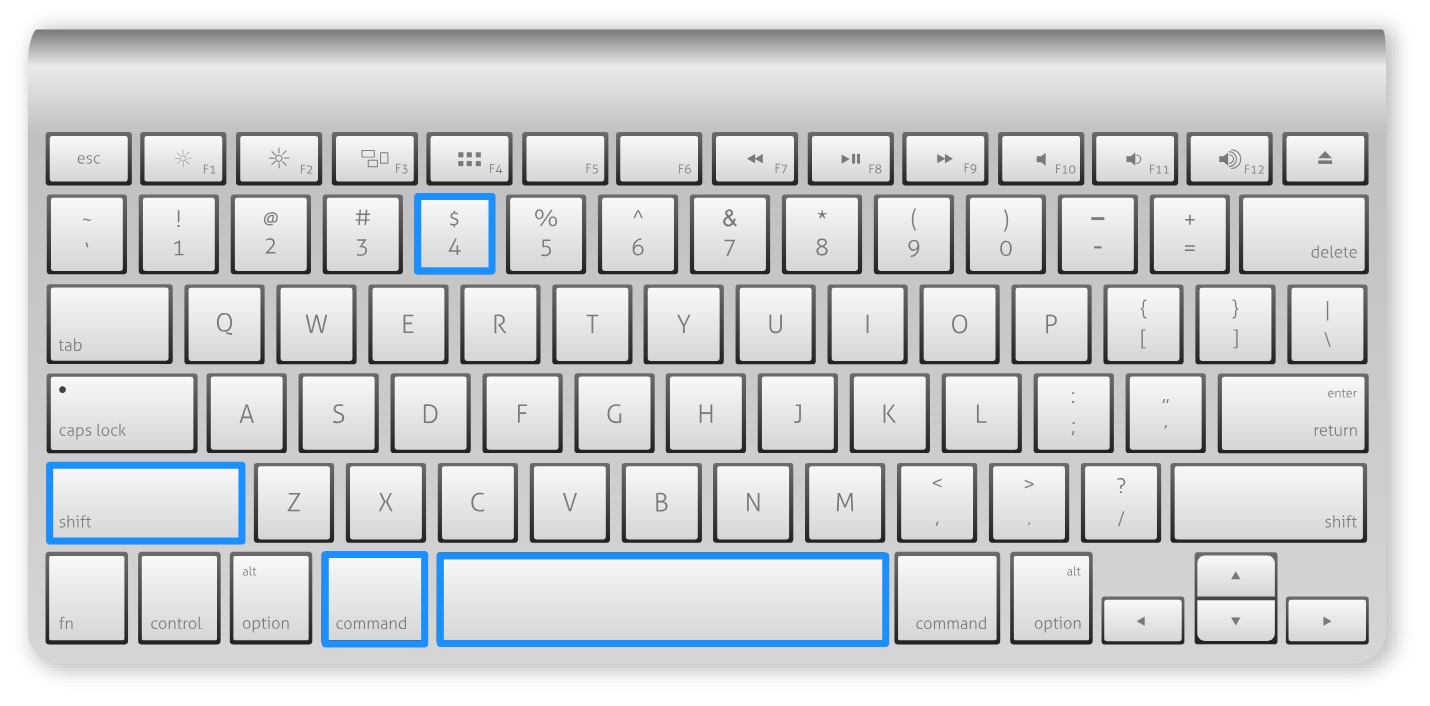
In all versions of macOS, you can press Shift-Command-4-Space to print screen on any visible screen elements, including particular application window, Dock, desktop and menus. To have advanced Mac screenshot options, call up Screenshot Toolbar again and follow steps below to start.
-
Step 1:
Press Shift-Command-5 to see the onscreen Screenshot Toolbar capture controls > Click Capture Selected Window:

How To Capture App Window, Desktop, Dock and Menu on Mac -
Step 2:
When your mouse pointer turns to a camera, select particular app window, dock, menu or the desktop to take screenshot.
-
Step 3:
Click the mouse or give a tap on the trackpad, it will take a screenshot of the window you have chosen > Find the screenshot on your Mac desktop.

How To Capture App Window, Desktop, Dock and Menu on Mac
- Extra Mac Screenshot Tip: When taking screenshot of a particular window on Mac, by default there are shadows on every pictures you got. To exclude the window's shadow from the screenshot, press and hold the Option (⌥) key while you click.
Method 3: How To Capture Selected Area Screenshot on Mac
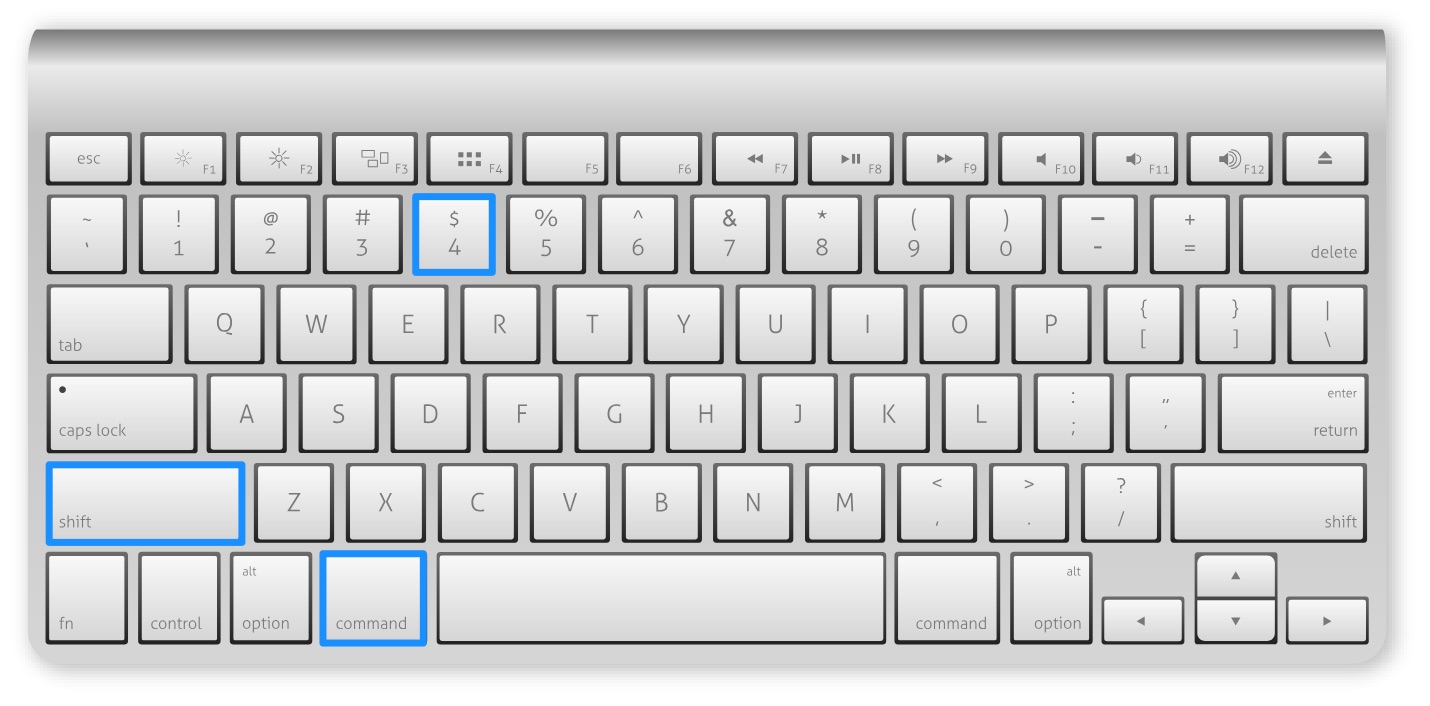
It's also very easy to take screenshots from a selected area on Mac. In all versions of macOS, press Shift-Command-4, and use mouse to select a portion of area on your Mac screen. To move the entire selection, press and hold Space bar while dragging.
-
Step 1:
Press Shift-Command-5 to launch Screenshot Toolbar > Click Capture Selected Portion option:

How To Capture Selected Area Screenshot on Mac -
Step 2:
Drag to select an area of the Mac screen and release mouse to start capturing screenshot > Find the screenshot on your Mac desktop.
Extra Mac Screenshot Tips
| Questions | Quick Answers |
|---|---|
| What's Mac screenshot image format | By default, screenshots taken on Mac are saved with the name "Screen Shot date at time.png" in PNG format. |
| Can I Cancel Taking Screenshot | Yes. To cancel/stop taking a screenshot on Mac, simply press the Esc (Escape) key before clicking to capture. |
| How To Save Screenshot in Clipboard | To copy the screenshot in the Clipboard instead of saving it to desktop on Mac, press and hold the Control key while you click to capture. The saved screenshot in clipboard can be used/pasted in a document, message, or other location. |
| How To Take Screenshot with Other Format | As you can open screenshots in Preview, PhotoShop or other image viewing/editing app, use them to export your screenshot to a different format, such as JPEG, PDF, or TIFF. |
| Why Screenshot on Mac Not Working | Some particular apps are not allowed for taking screenshots, like iDVD. Also give a check in System Preferences to see if the screenshot hotkey has beem modified. |
| Can I Capture Screenshot without Keyboard | Yes. You can find standalone Screenshot app on macOS Mojave/Catalina without using keyboard (Full Guide). |

Omni Remover
Version 3.4.5 (28 March, 2021) / Support macOS Catalina
Category: Mac Uninstaller
More iPhone/Mac Related Tips
- How To Permanently Delete Your Facebook Account In Seconds >
- Best iPhone / iTunes Backup Extractor Software >
- How To Find My Recently Deleted App on iPhone >
- Recover Deleted Text Messages on iPhone without Computer >
- How to Recover Permanently Deleted Photos from iPhone 6 Plus >
- Top 15 Best Facebook Alternative You Cannot Miss >
Tags: Slow Mac Mac Problems